
[Placement]

Install the Xposed Framework on Android 6.0 Marshmallow Devices

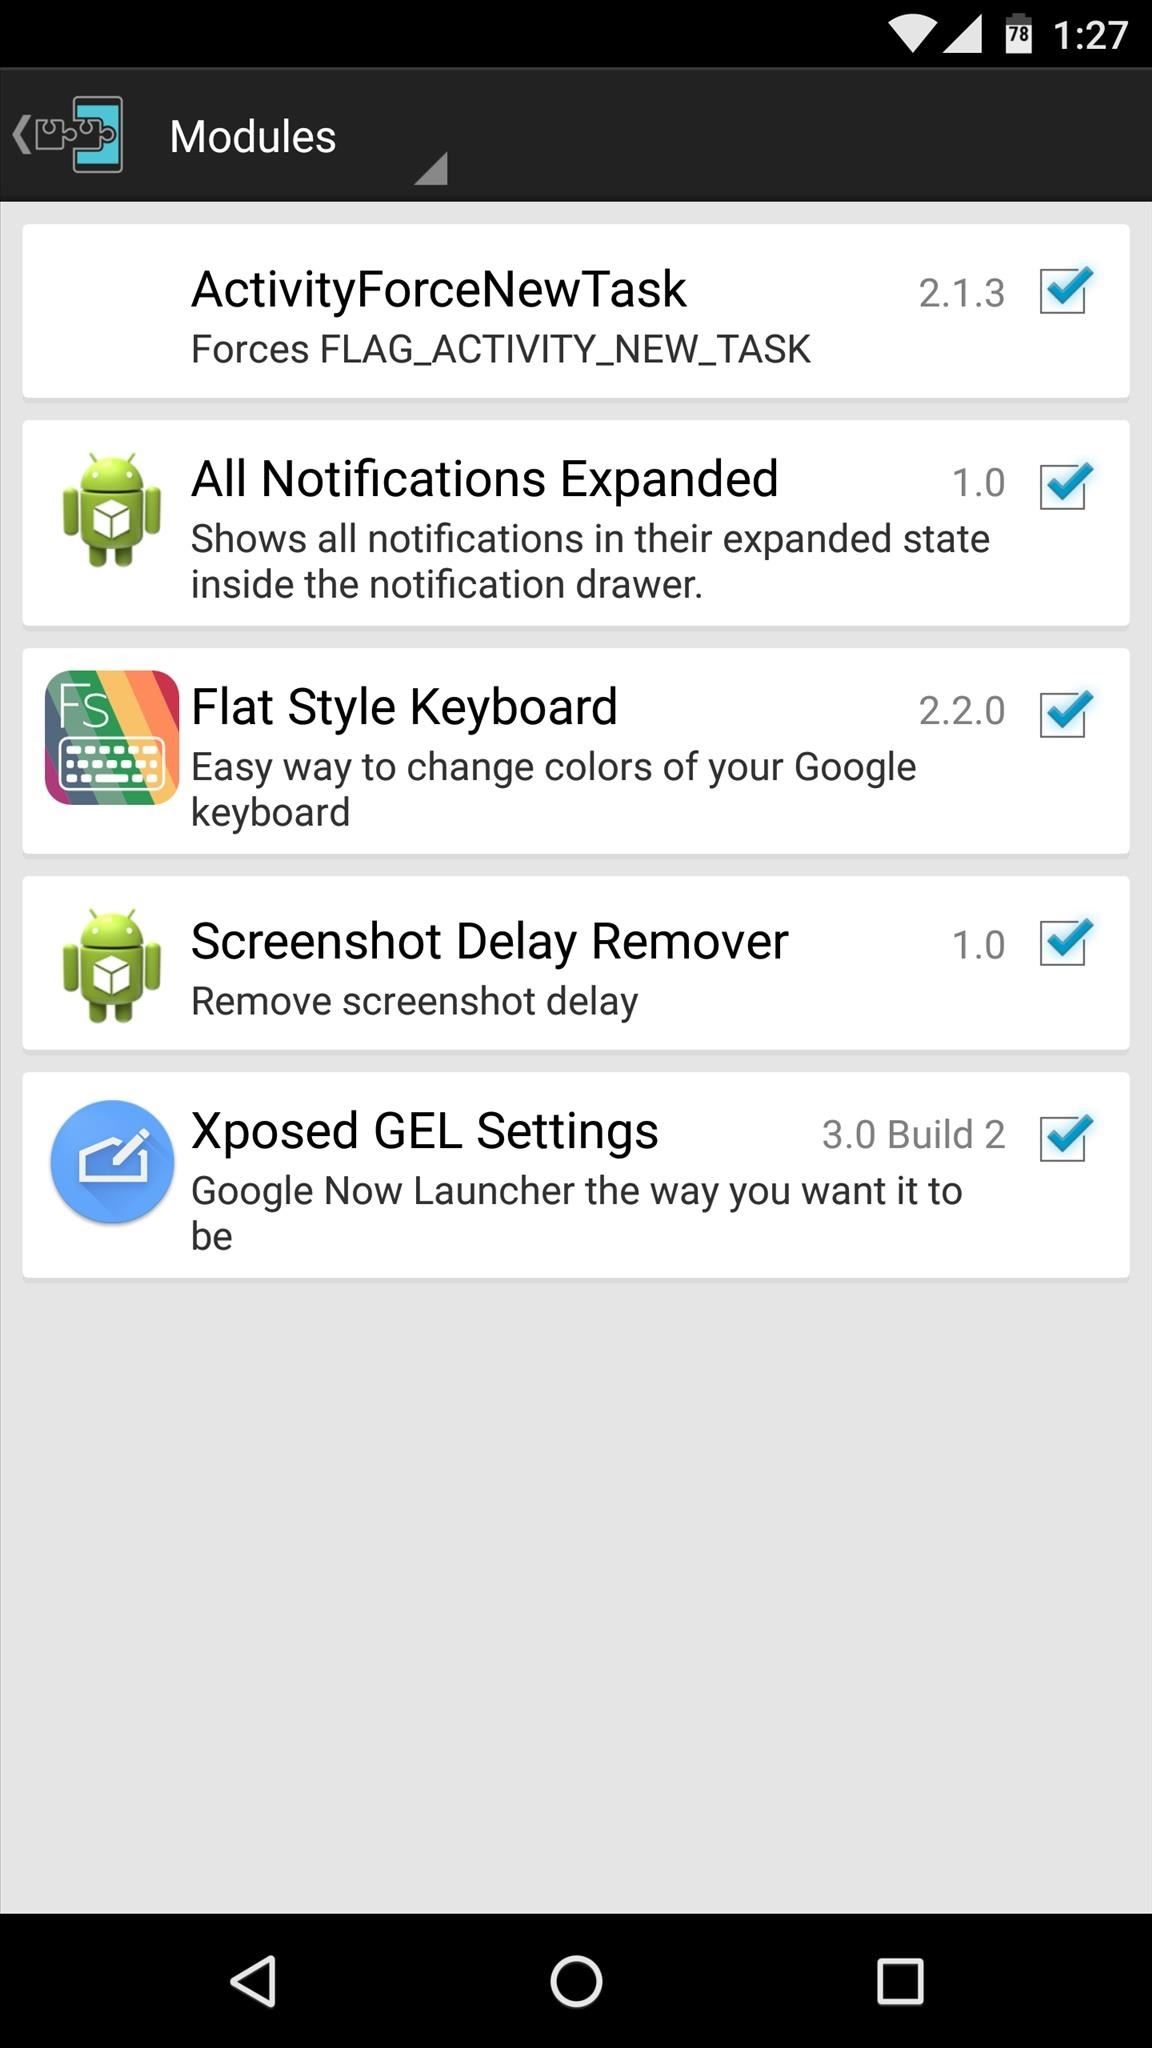
When someone asks me why they should root their phone, one of the top reasons I always give is that it enables you to install the Xposed Framework. Created by developer Rovo89, Xposed basically hooks into the Android system, then allows users to simply install mini-apps called modules that can change almost anything in a device's interface or other installed apps.
Thankfully, Xposed has finally been made available to Marshmallow devices, so those of us running the latest and greatest version of Android can finally get back to tweaking every little aspect of our phones and tablets. Installing this new version is similar to the old Lollipop method, but I'll cover it all in detail below.
Requirements
- Device running Android 6.0 Marshmallow
- Custom recovery installed
- "Unknown sources" enabled
STEP :- 1
Step 1Find Your Device's CPU Architecture
There are three different versions of the Xposed Framework for Marshmallowdevices, and each is designed for a specific CPU architecture. It can be fairly difficult to find your device's CPU architecture, so if you don't know this information off the top of your head, I'd suggest that you download a free app called Hardware Info.
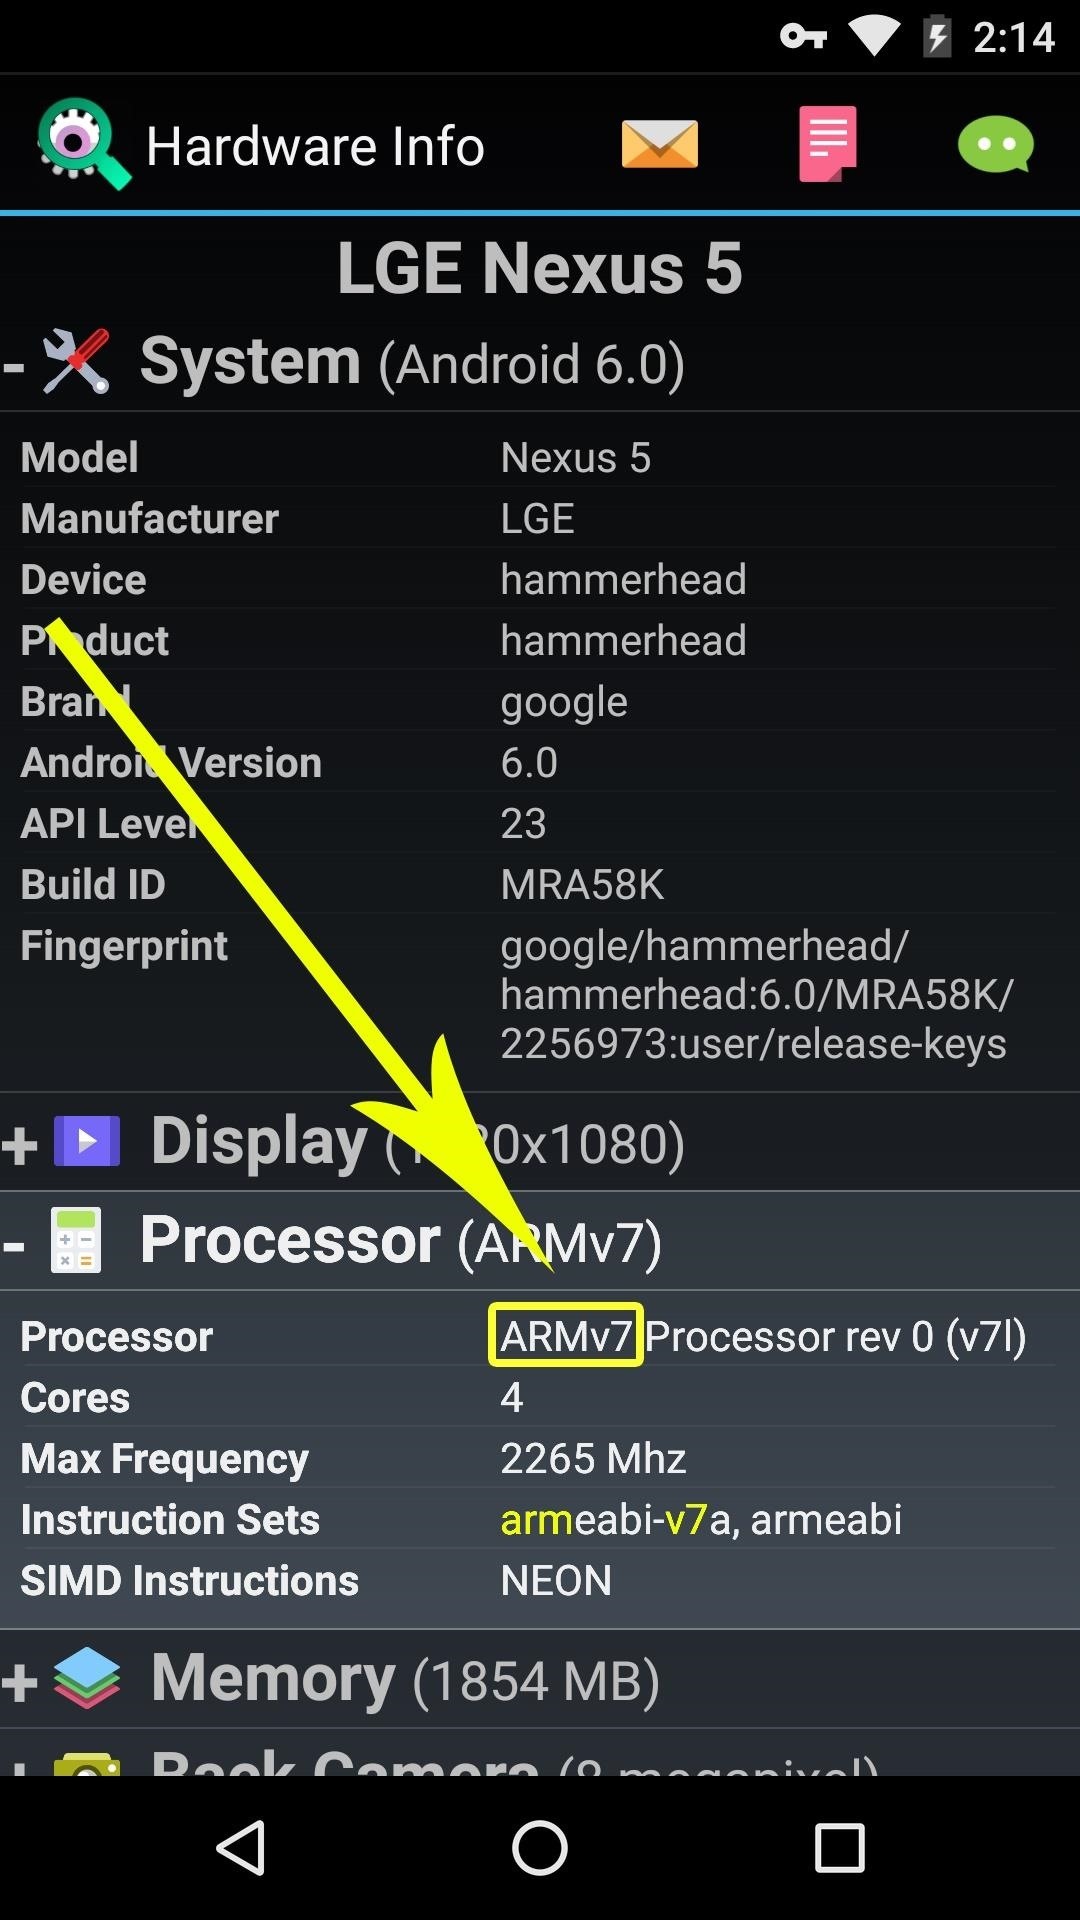
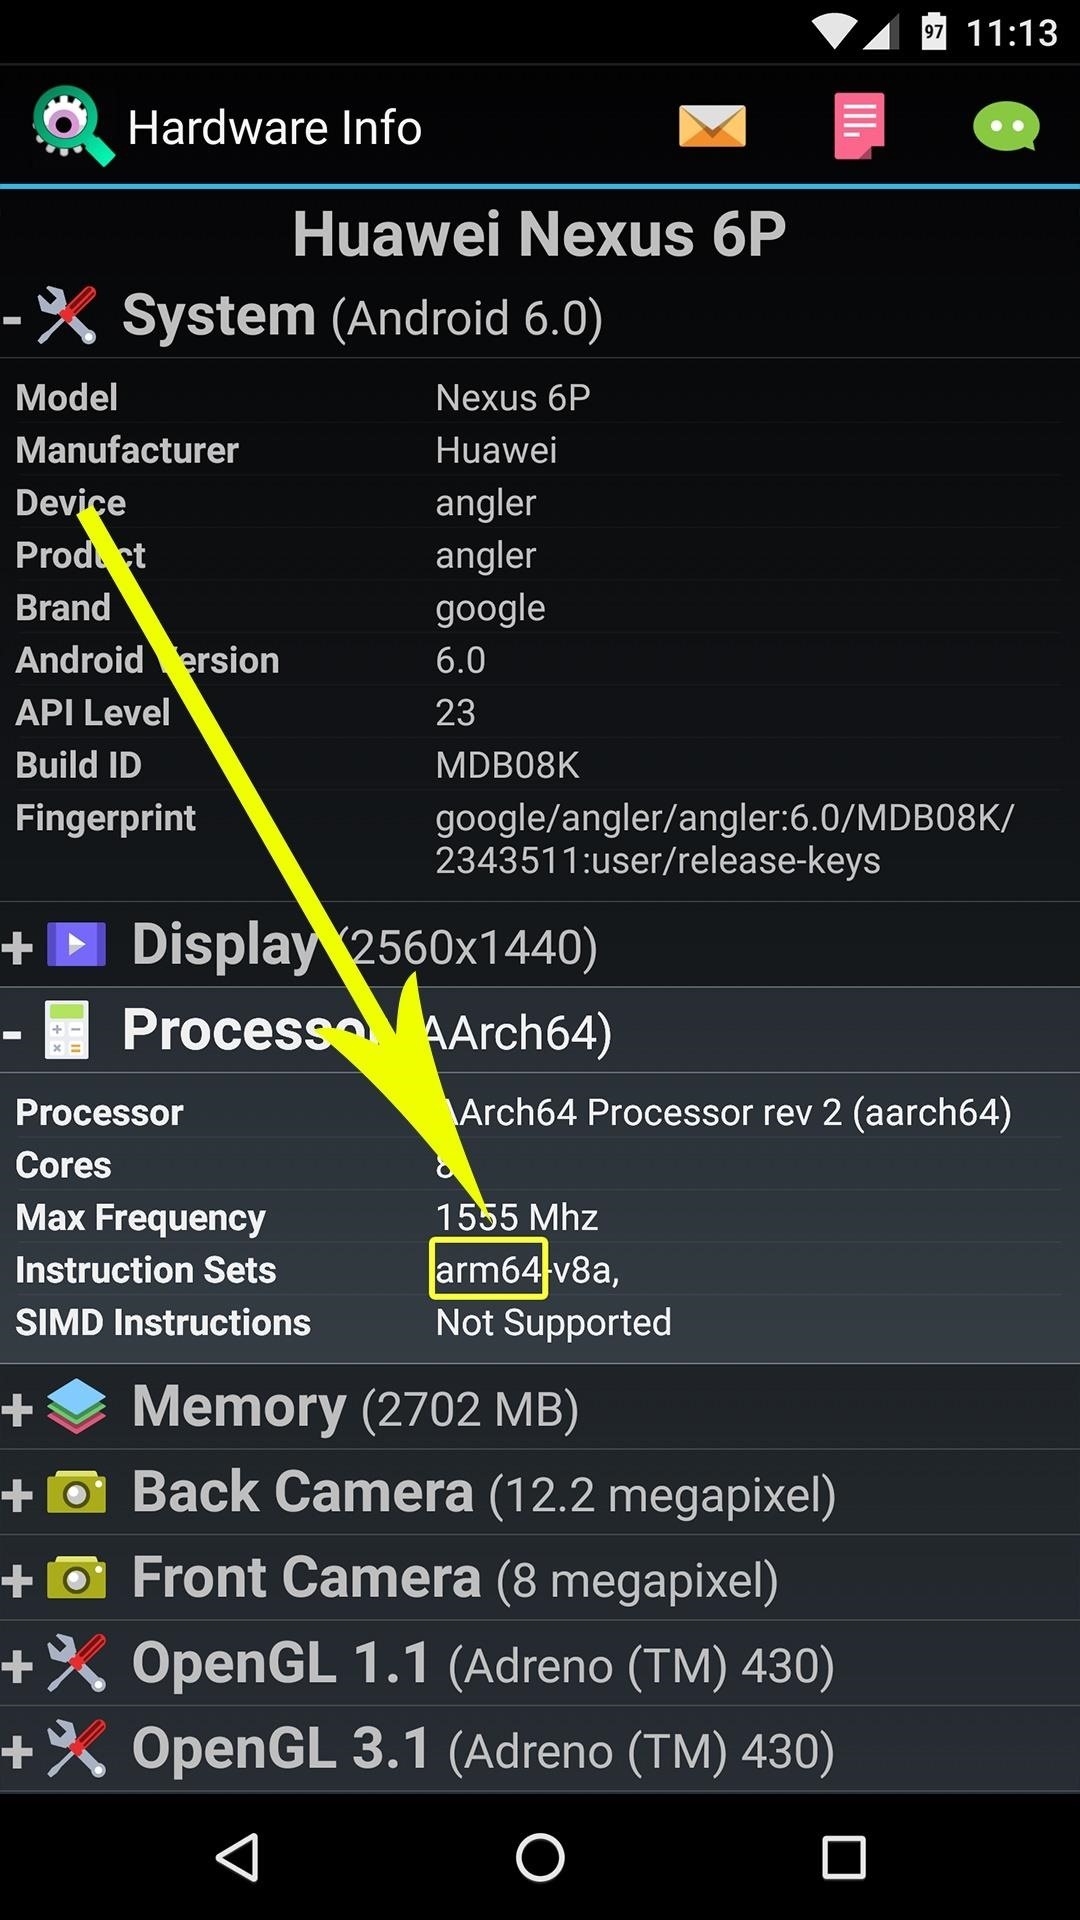
Once you've installed Hardware Info, simply open the app and tap the "Processor" entry. From here, look for one of three CPU architecture types—ARMv7, ARM64, or x86. The exact location of these CPU architecture names will vary, but you should see one of the three somewhere under the Processor category.
STEP :- 2
Download the Right Files for Your Device Now that you know your device's CPU architecture, you can download the corresponding version of the Xposed Framework. You'll also need to download the Xposed Installer app to browse and install modules, but that's the same file for all Marshmallow devices.
So to begin, tap one of the following links from your Marshmallow device:
Then, grab the Xposed Installer app as well, which is the same file for all Marshmallow devices:
Step 3S
STEP :- 3
Install the Xposed Framework in Custom Recovery
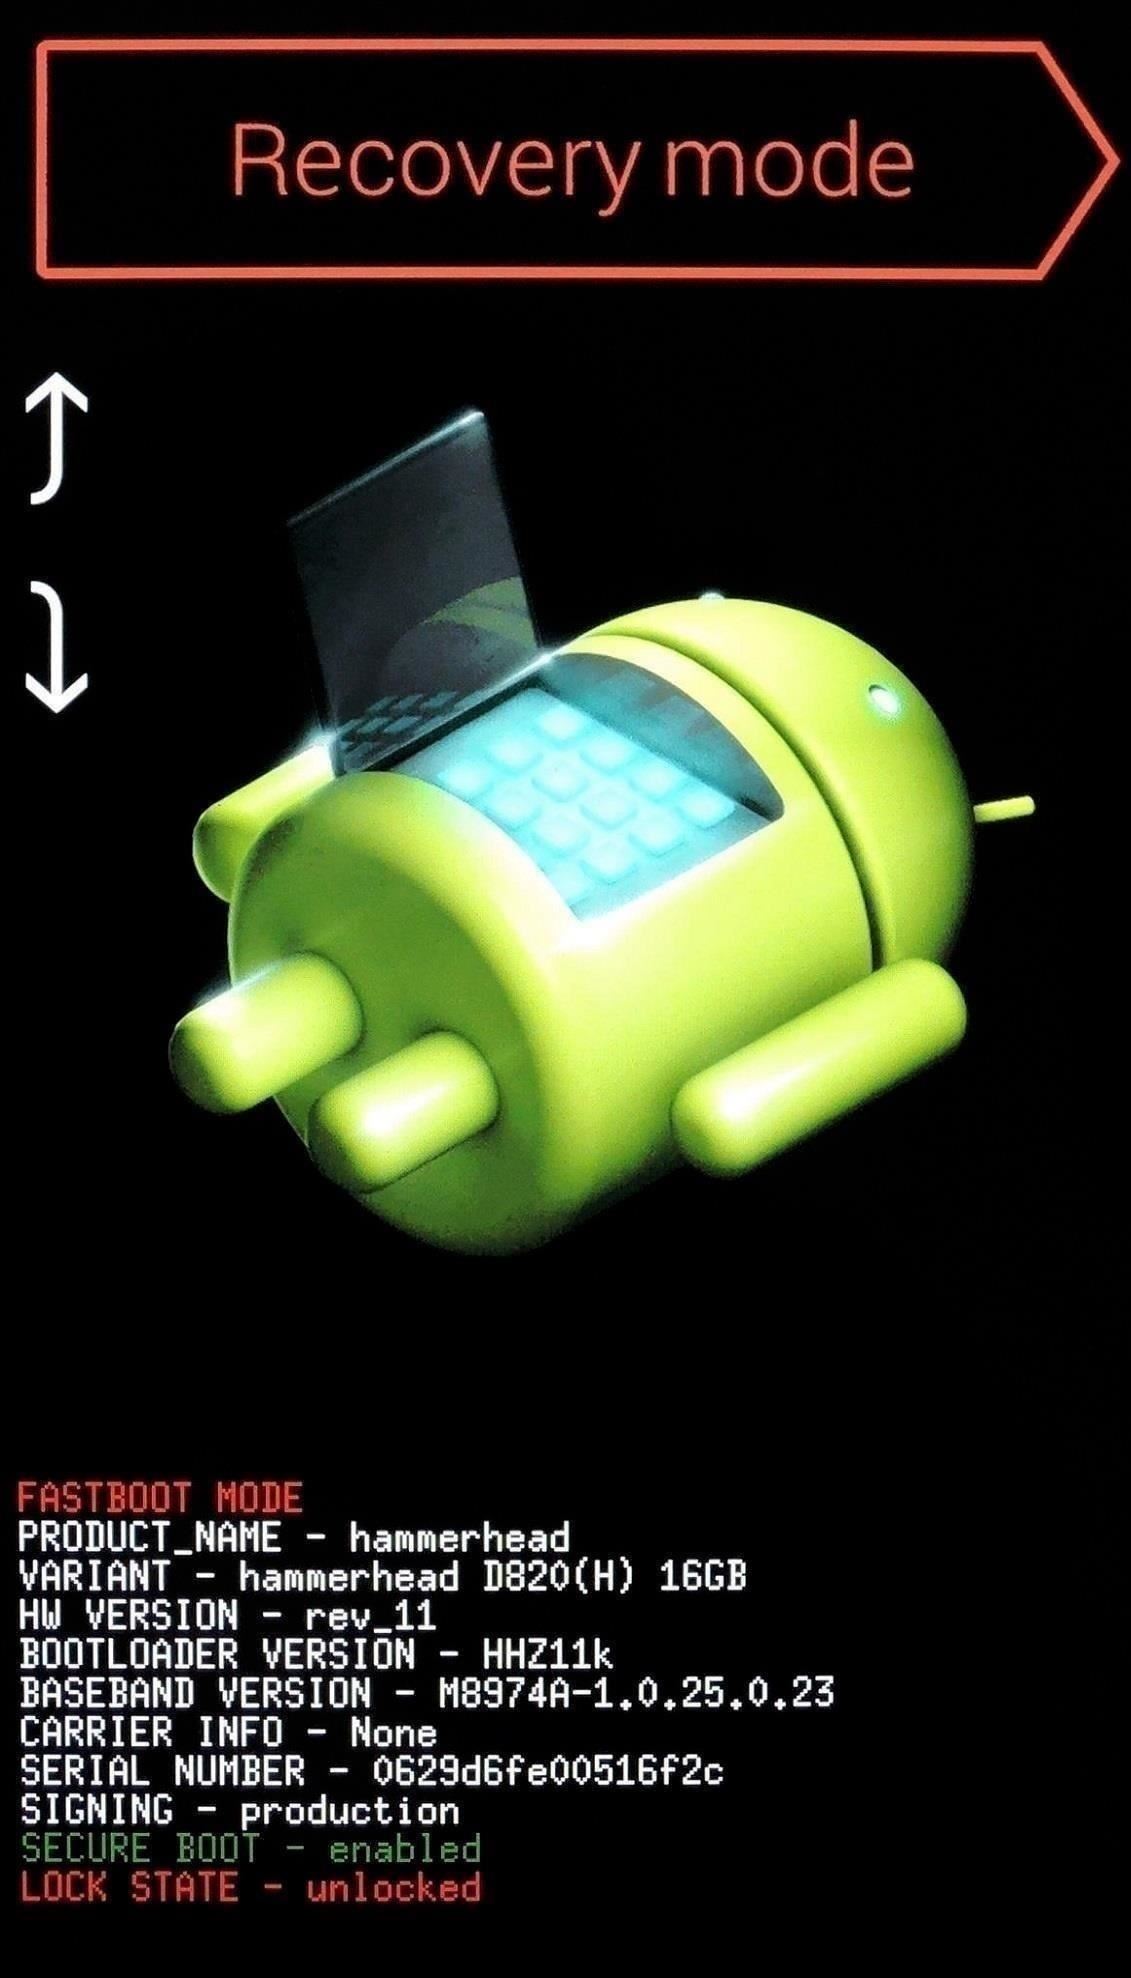
Once you've downloaded both Xposed files, the next thing you'll need to do is boot your device into custom recovery. For most phones, simply start from a powered off state, then press and hold the volume down and power buttons simultaneously. When Android's bootloader menu comes up, press the volume down button twice to highlight "Recovery mode," then press the power button to select it.

Then, of course, since you'll be flashing a ZIP, make sure you have a recentNANDroid backup on standby. If you haven't made a full system backup before, see Tip #2 in this guide for instructions.
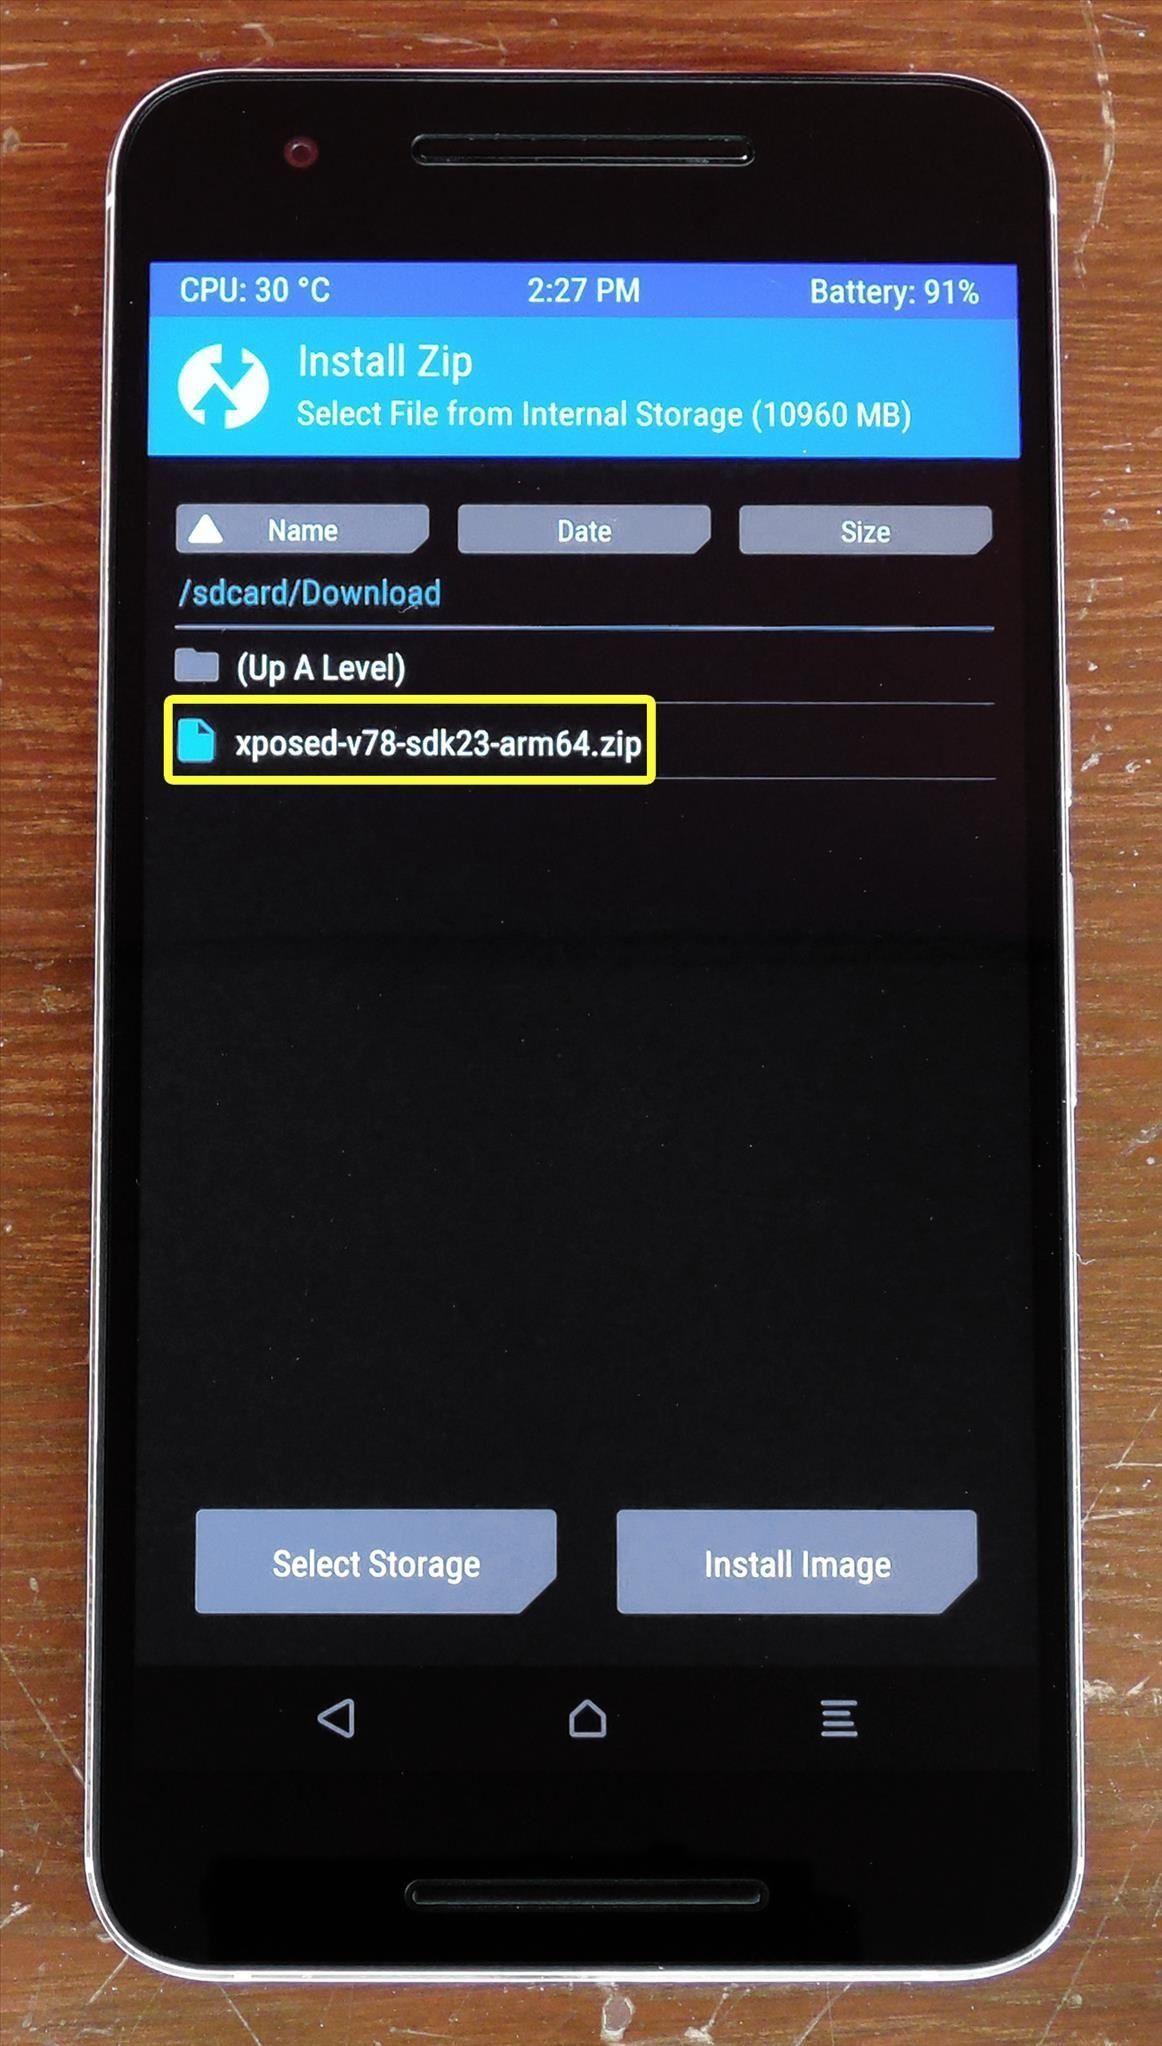
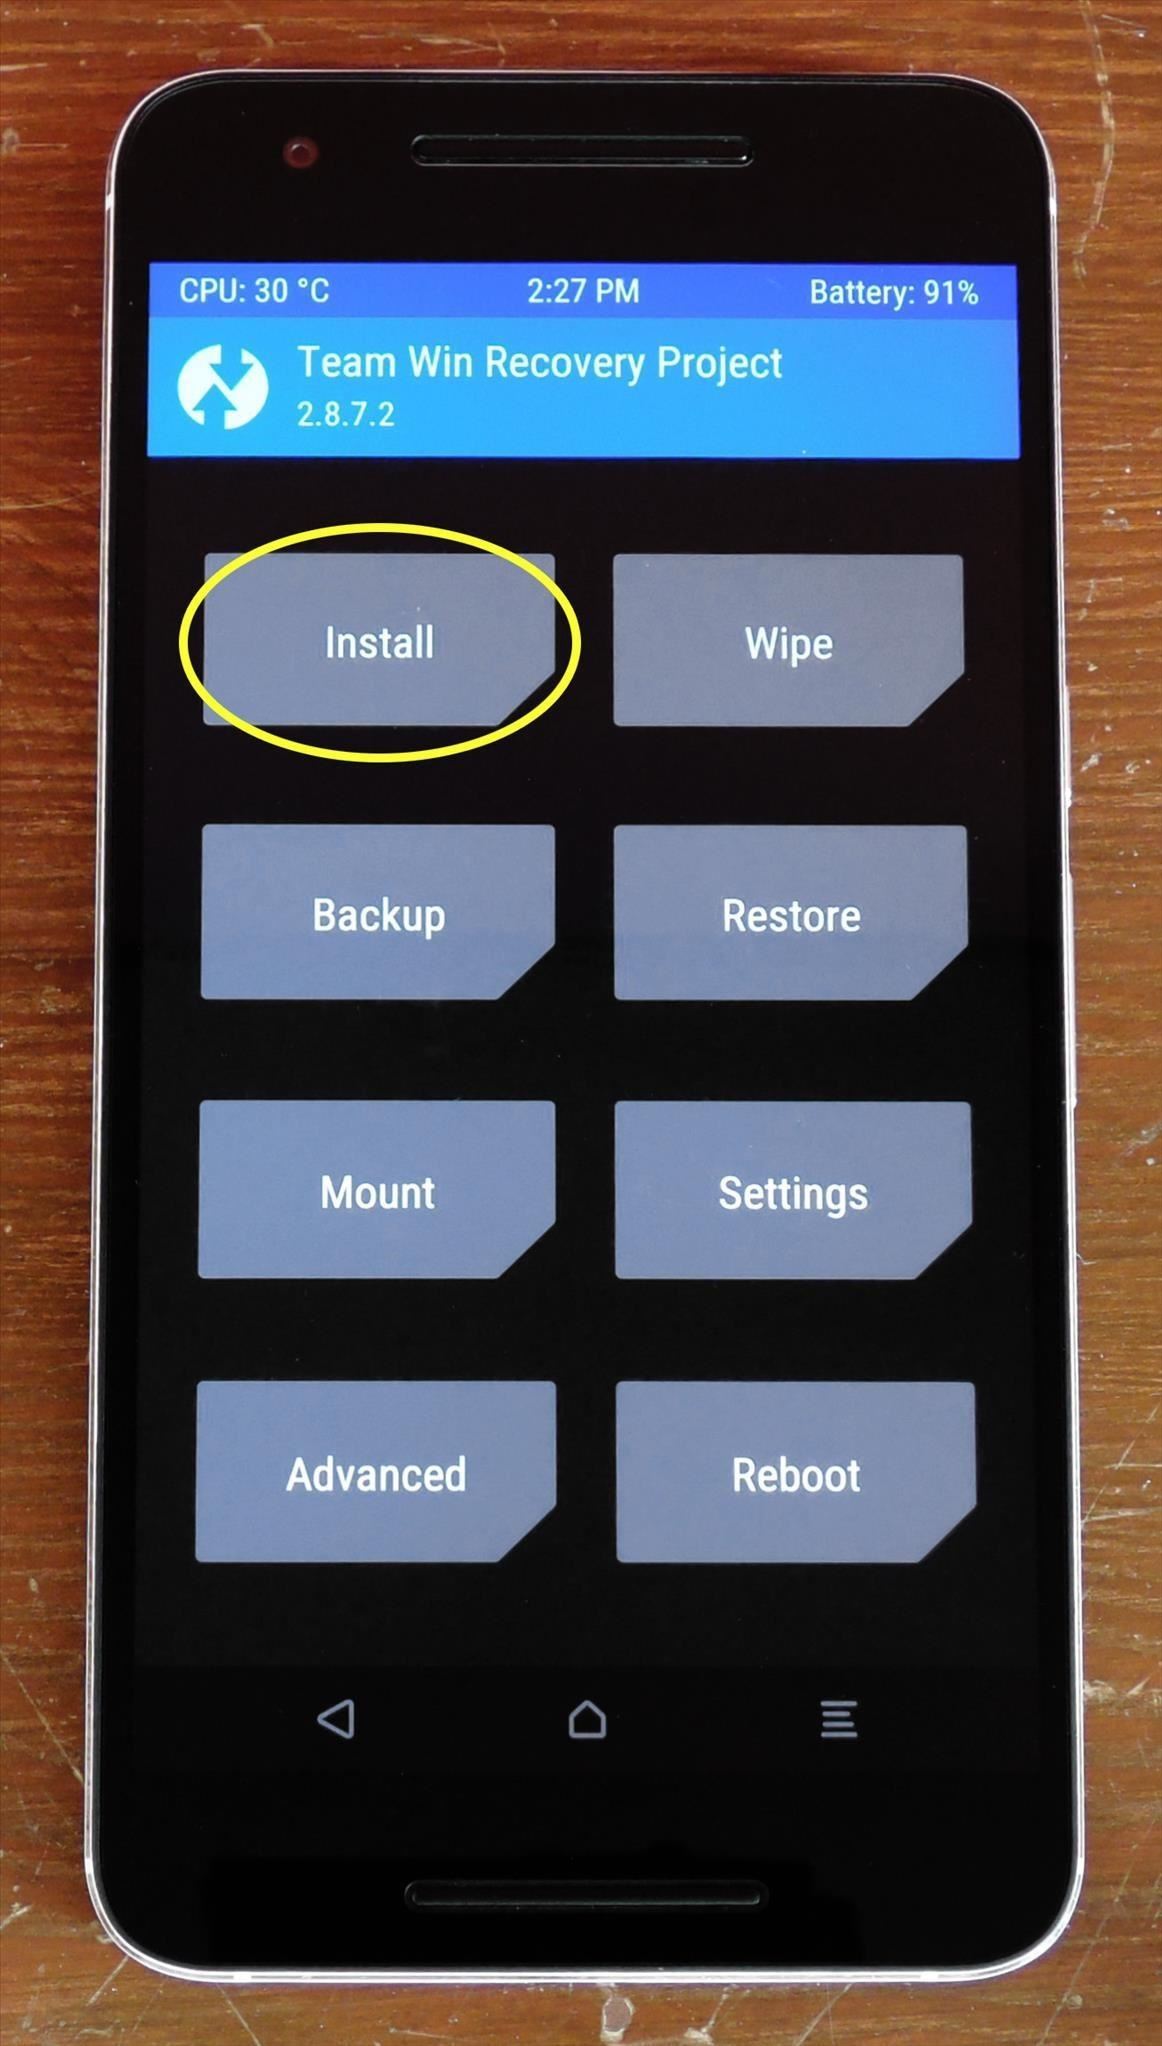
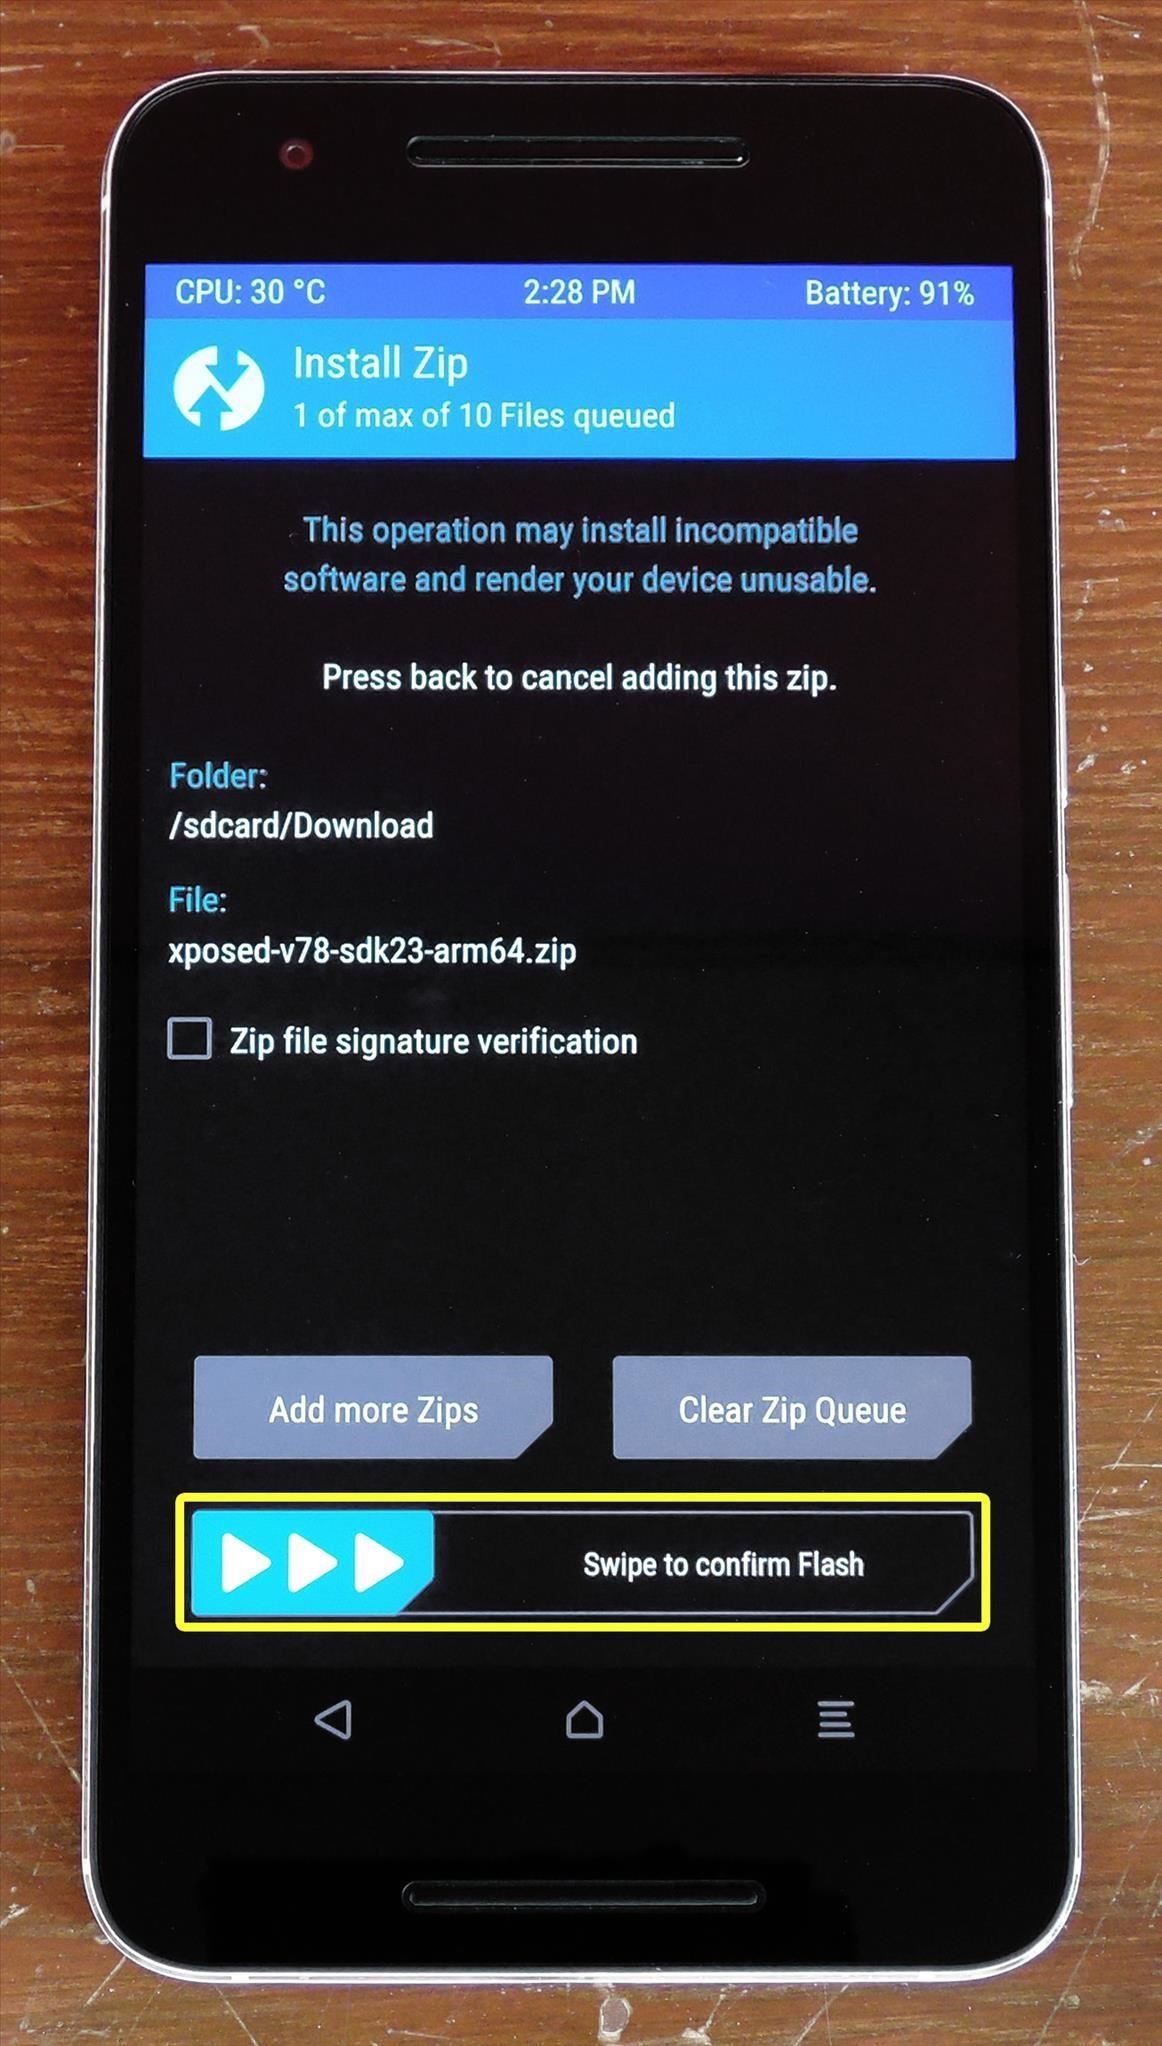
At this point, if you're using TWRP recovery, simply tap the "Install" button to begin. From here, navigate to your device's Download folder, then select the xposed-v78-sdk23-xxx.zip file.
STEP :- 3
Install the Xposed Installer App
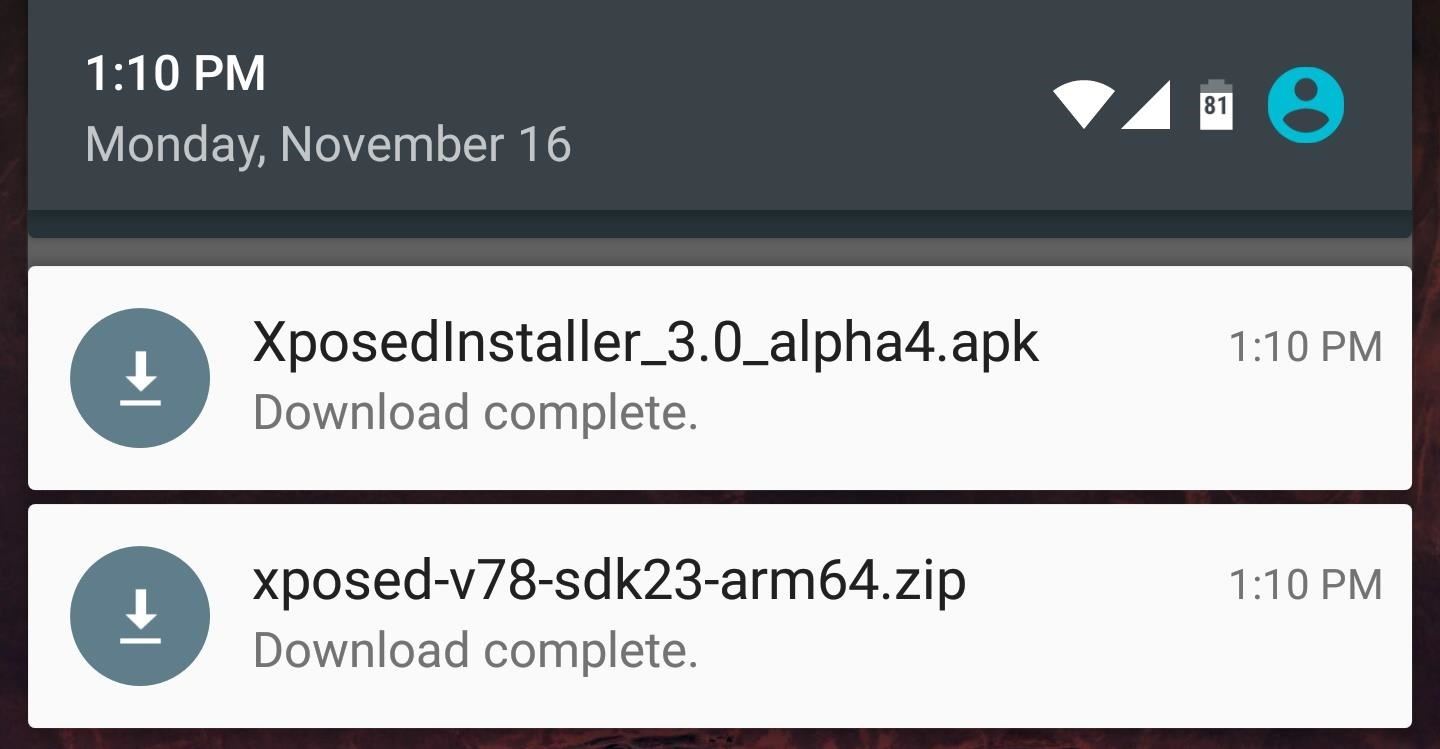
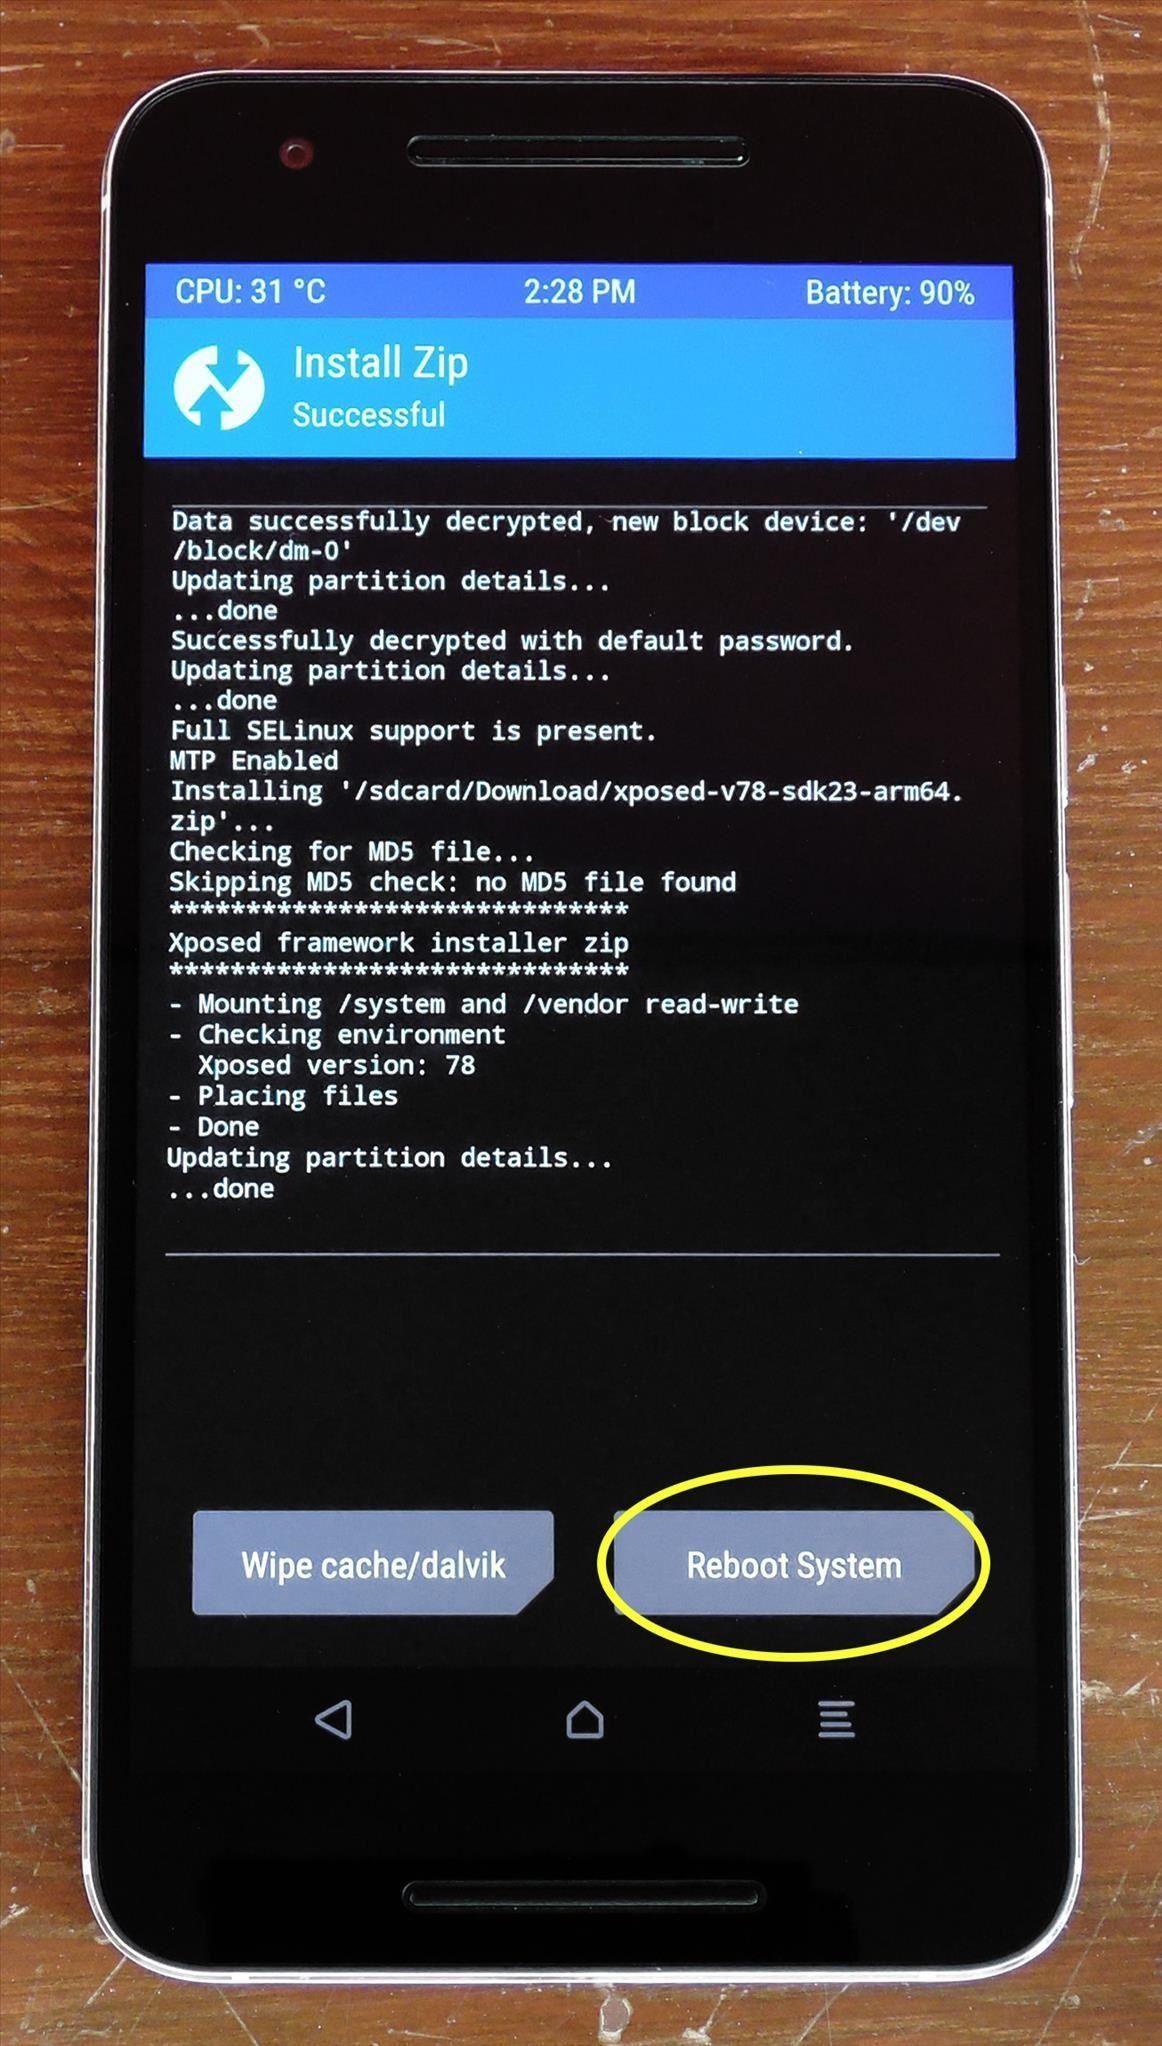
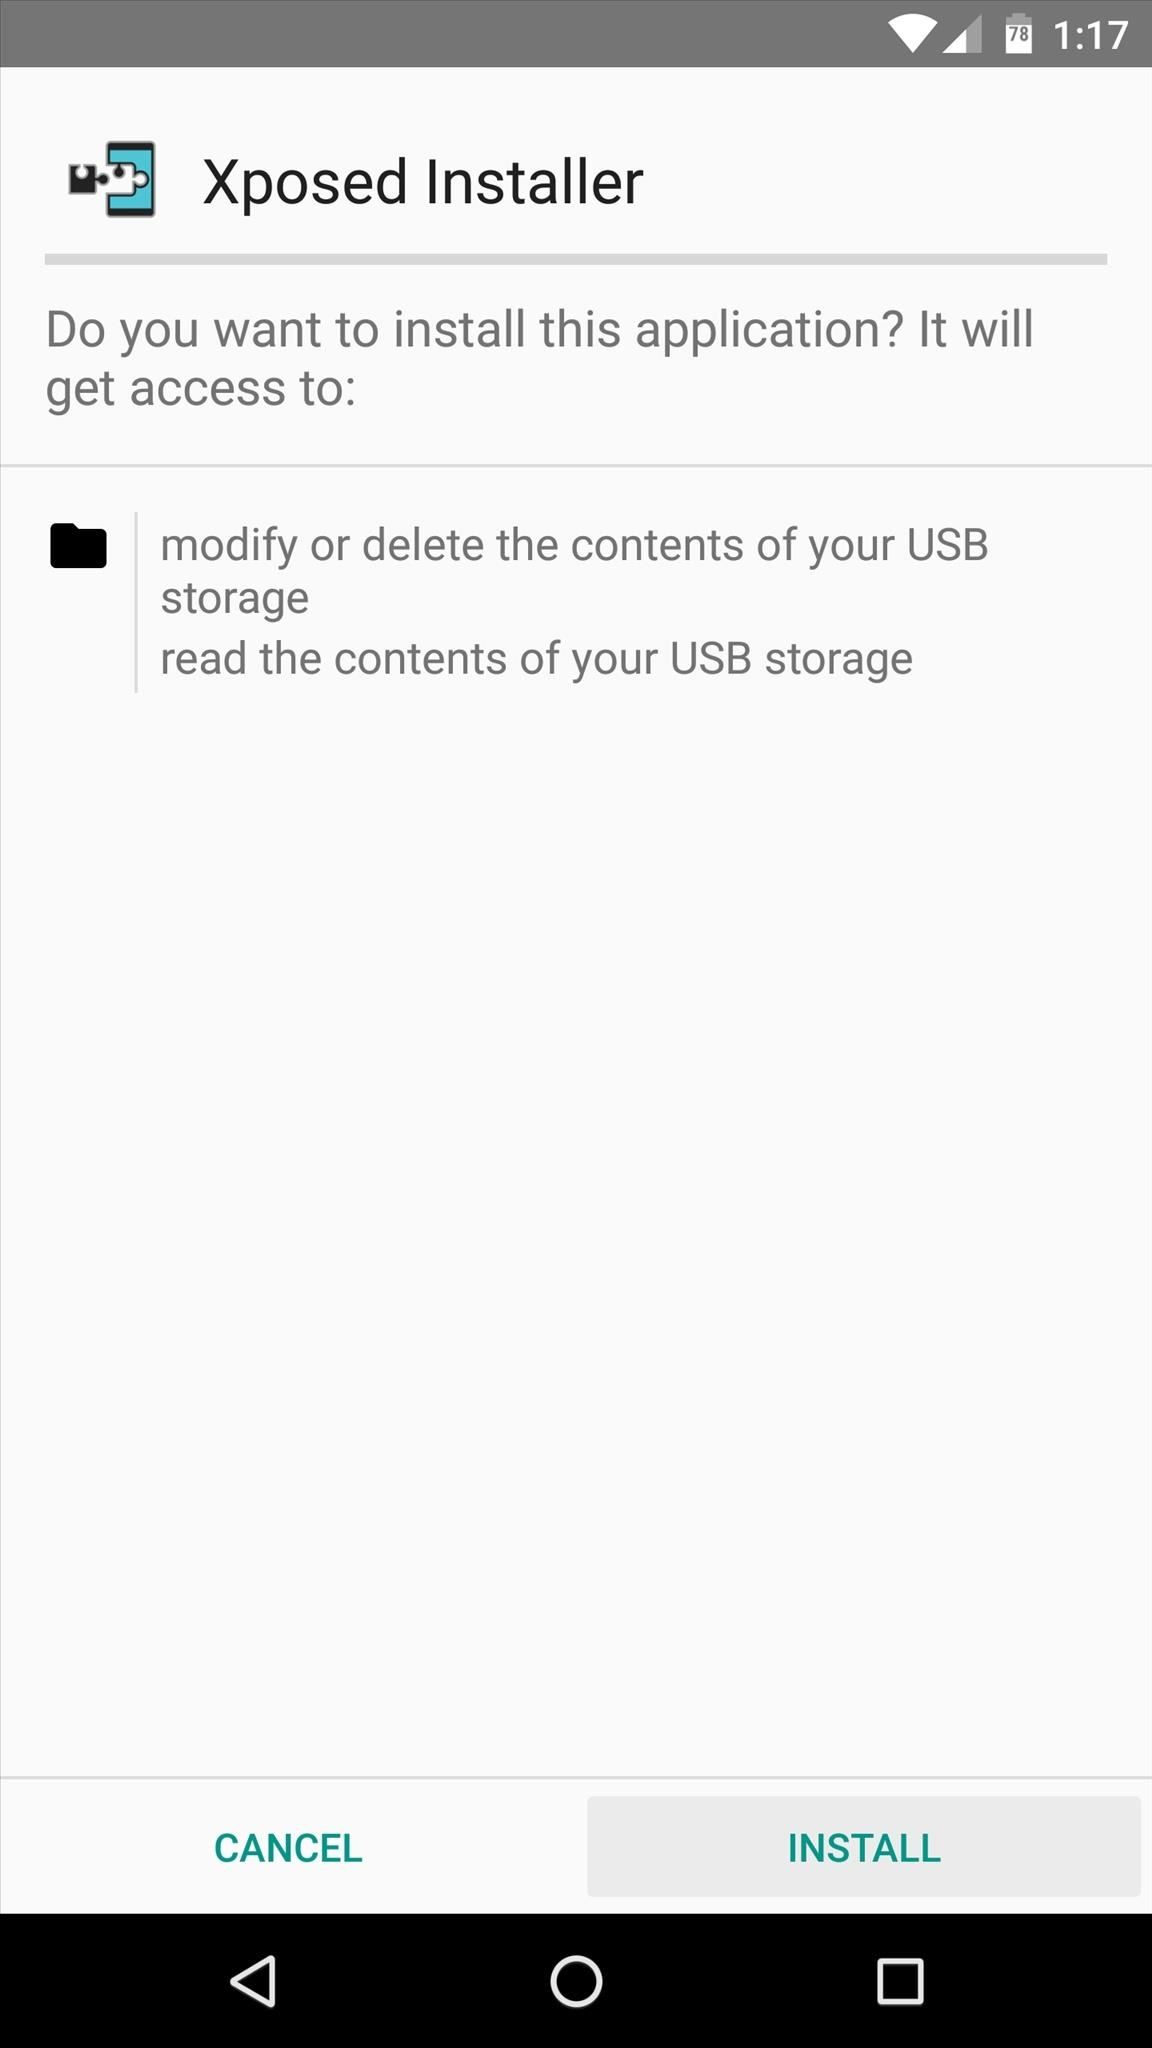
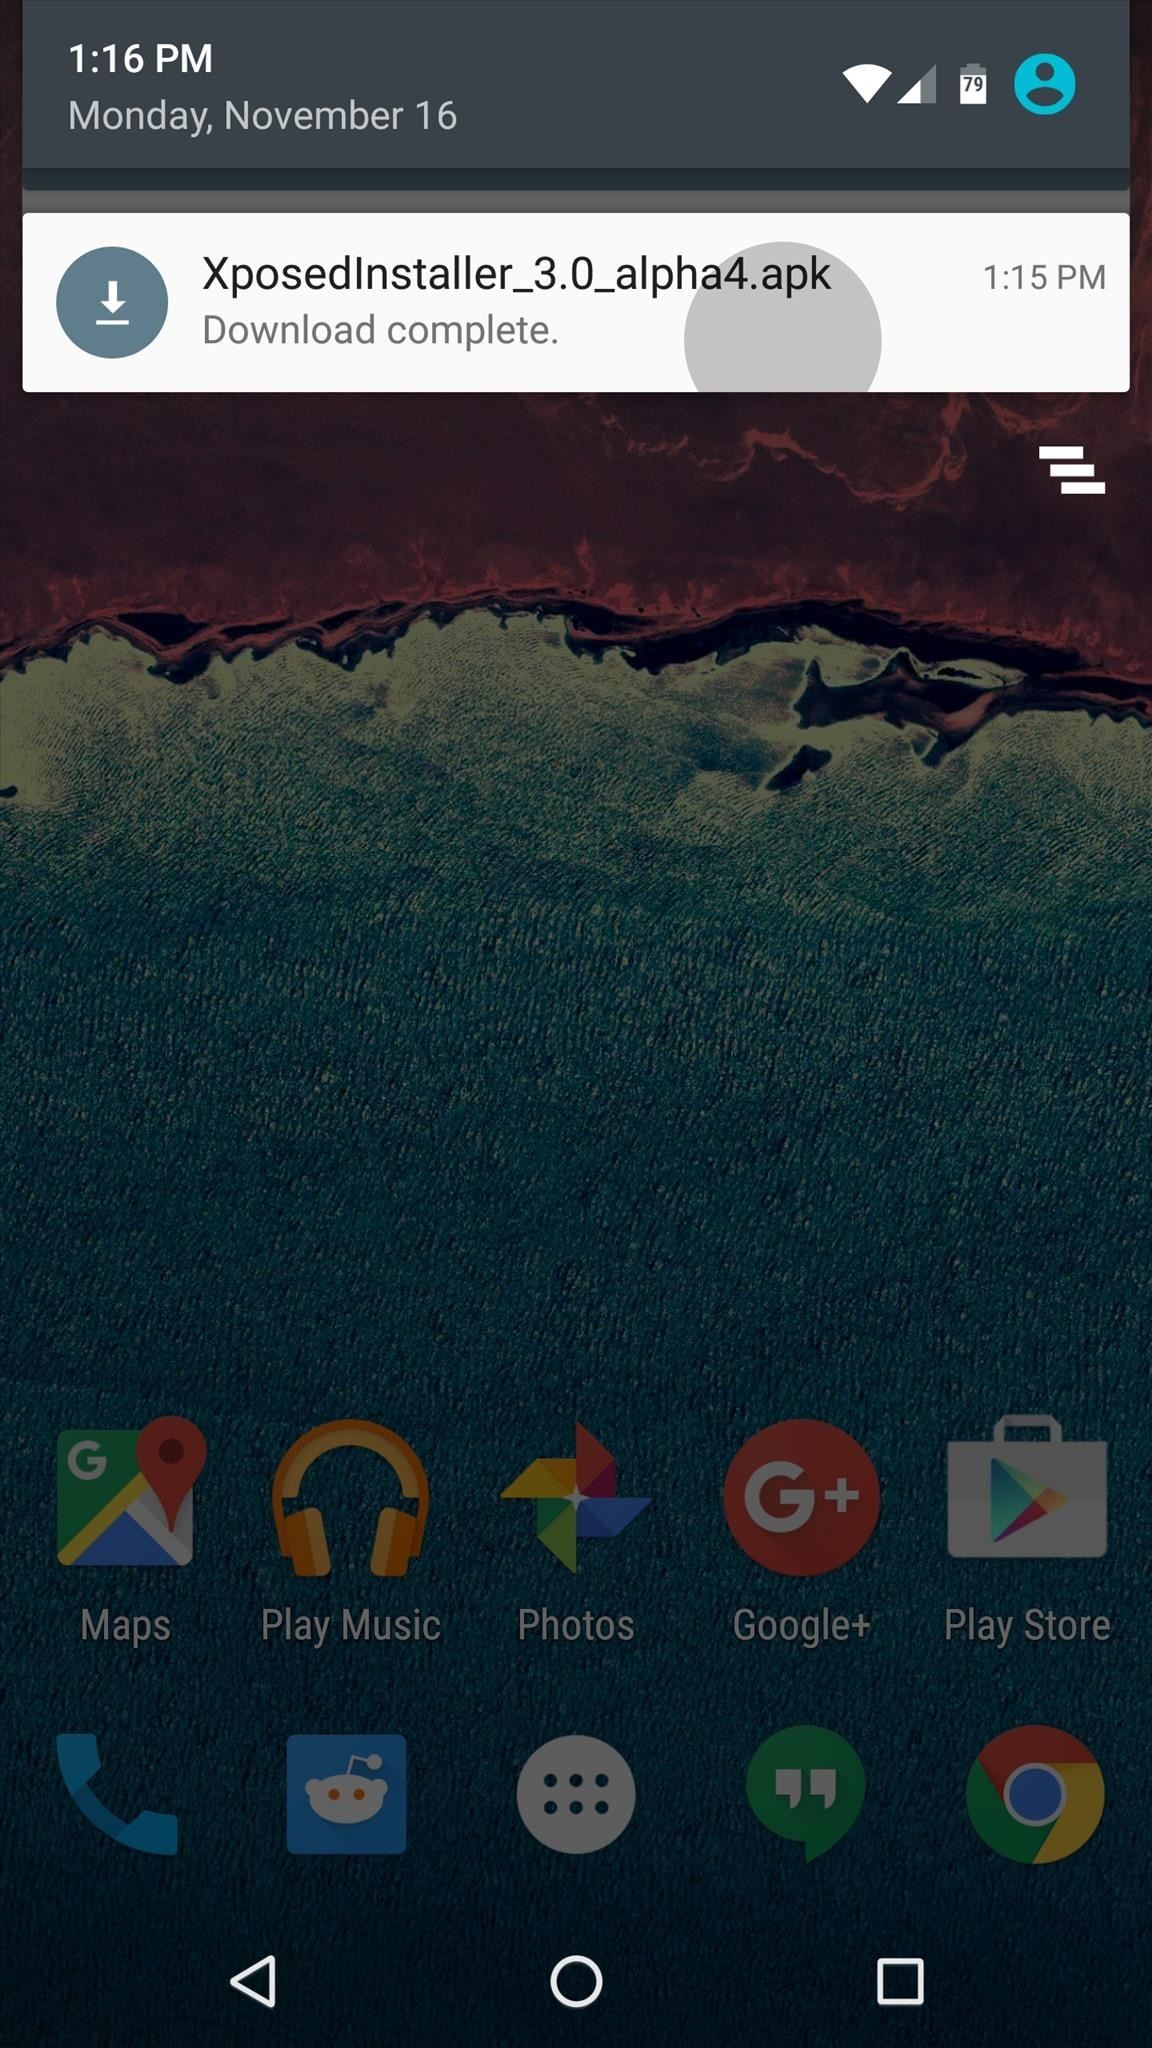
When your device finishes booting back up, tap the "Download complete" notification for the XposedInstaller_3.0_alpha4.apk file, or launch the APK with a file browser app. From here, press "Install," then open the app when that's finished.
X
Related posts


No comments:
Post a Comment